By Mladen Terzic
Custom Shopify Updates
9th Dec 2024
14 min read
Updated 8th Jun 2026
Custom Shopify Theme Development: Step-by-Step Guide
Learn how to build and optimize a custom Shopify theme from scratch. This step-by-step guide covers Liquid basics, JSON templates, performance tweaks, SEO tips, and best practices for delivering a unique, high-performing online store.


Custom Shopify theme development lets you create a store that matches your brand and boosts performance. This guide explains how to set up your tools, customize themes using Shopify's Liquid language and JSON templates, and optimize for speed and SEO. This Shopify custom theme development guide doubles as a hands-on tutorial for anyone who wants to learn Shopify theme development from scratch. Here's what you'll learn:
- Why Custom Themes? Stand out visually, improve performance, and add personalized features.
- Getting Started: Install Shopify CLI, use the Dawn theme as a base, and set up a local development server.
- Customizing Your Store: Work with Liquid and JSON to design key pages like the homepage, product pages, and checkout.
- Publishing Your Theme: Upload, test, and make your theme live without disrupting your store.
- Optimization Tips: Enhance speed, SEO, and mobile responsiveness while testing across devices and browsers.
Whether you're a beginner or an experienced developer, this guide walks you through every step to build a high-performing Shopify store tailored to your needs. From custom Shopify design to advanced Shopify theme development, you'll see how shopify theme development and customization come together to create a Shopify custom theme that fits your brand.
Shopify Liquid for Theme Development - Crash Course

Preparing the Development Environment
Setting up your development environment is key to building Shopify themes efficiently. A solid theme development Shopify setup also makes Shopify local theme development much smoother. Here's a breakdown of the tools and configurations you'll need to get started.
Installing Shopify CLI
Shopify CLI simplifies theme development by automating repetitive tasks. Installation steps depend on your operating system:
For macOS:
brew tap shopify/shopify
brew install shopify-cli
For Windows, download and run the official installer from Shopify's website. Once installed, confirm everything is working by running:
shopify version
Creating a Theme with Dawn
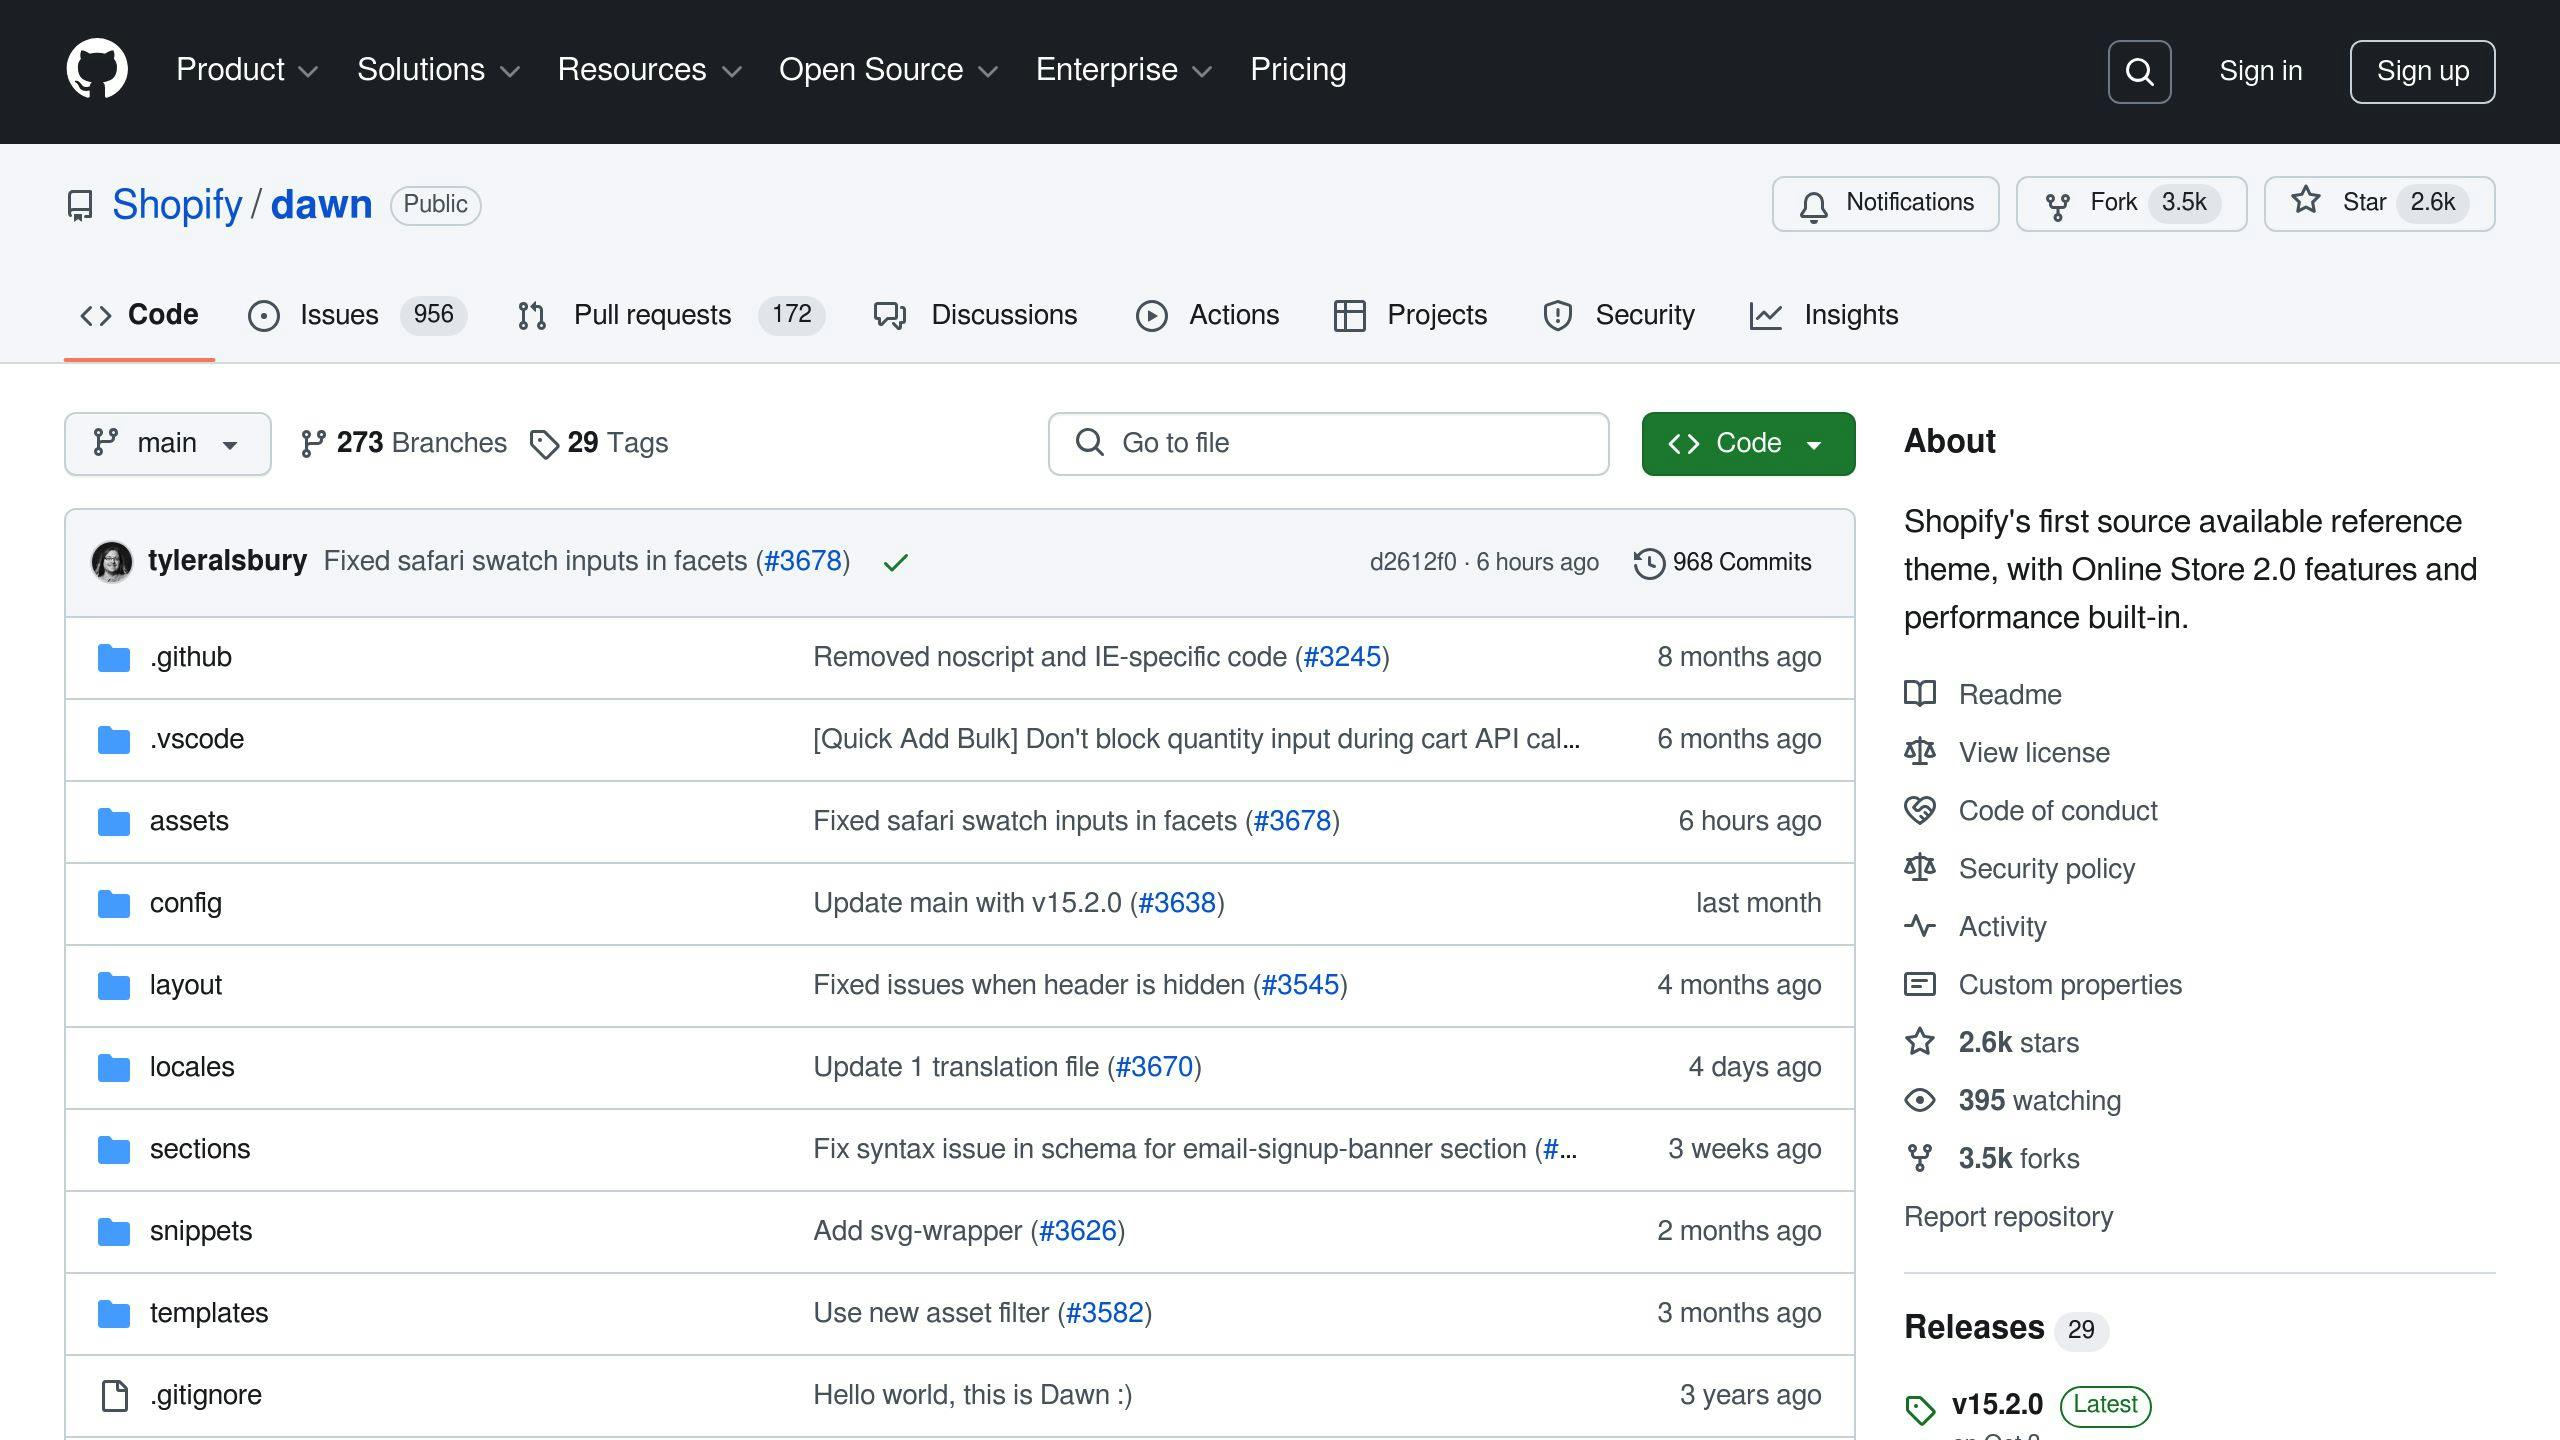
After installing Shopify CLI, you can kick off your custom theme using Shopify's Dawn theme as a base. Dawn is Shopify's default theme and comes with modern features and clean, well-structured code. To create a custom Shopify theme, the shopify theme init command (the official 2024 approach) uses Dawn as the default theme via shopify theme init --clone-url dawn.
Run the following command to create your theme:
shopify theme init [YOUR_THEME_NAME] --clone-url https://github.com/Shopify/dawn.git
Dawn includes features like JSON templates, responsive design, and built-in performance optimizations. It's a great starting point for developers of all levels.
Using a Local Development Server
Once your theme is set up, you can test and refine it in real time using a local development server. Connect to your Shopify store by running:
shopify theme dev --store your-store-name.myshopify.com
This uploads your theme as a development version, generates a preview URL, and supports hot-reloading for seamless updates. For Shopify local development without a store, running theme-check (the 2024 way) helps you validate your code before connecting.
"Using a local development server allows you to preview and test theme changes in real time, which speeds up the development process. It also helps you identify and fix errors more efficiently, ensuring that your theme is stable and functional before deploying it to your live store." [1]
Recommended Tools for Development
For a smooth workflow, here are some essential tools. A good Shopify theme development local setup often includes a package.json and theme-check configuration kept current for 2024 and 2025, and the Dawn theme package.json with theme-check is a handy reference for your development setup.
| Tool | Purpose | Key Benefit |
|---|---|---|
| Shopify CLI | Theme management | Automates tasks to save time |
| Git | Version control | Tracks changes and supports collaboration |
| Chrome DevTools | Debugging | Helps with real-time inspection |
| Code editor | Theme editing | Offers Liquid syntax support and tools |
Making Changes to the Shopify Theme
To build a custom Shopify theme, you'll need to get comfortable with Shopify's Liquid language and JSON templates. These tools let you control both the design and functionality of your store. This is where Shopify custom development really shines, giving you full control over how you develop a Shopify theme.
Understanding Shopify's Liquid Language
Liquid is Shopify's templating language, based on Ruby. It uses output tags ({{ }}) to display content and logic tags ({% %}) to manage functionality.
Here’s an example of how Liquid works:
{% if product.available %}
  <div class="price">
    {{ product.price | money }}
  </div>
{% else %}
  <div class="sold-out">
    Sold Out
  </div>
{% endif %}
This snippet checks if a product is available. If it is, the price is displayed. If not, a "Sold Out" message appears.
Using JSON Templates for Page Layouts
JSON templates make it easier to organize your page content. They define how sections are configured and arranged on different pages. This Shopify template development approach keeps your shopify dev theme flexible and maintainable.
Here’s a basic example:
{
  "sections": {
    "main": {
      "type": "main-product"
    }
  },
  "order": ["main"]
}
| Template Type | Purpose | Benefits |
|---|---|---|
| Product Template | Product pages | Tailored product displays |
| Collection Template | Category pages | Organized product listings |
| Index Template | Homepage | Flexible layout options |
By combining Liquid and JSON, you can create layouts that fit your store's needs.
Customizing Key Pages
Certain pages have a bigger impact on user experience and sales. Focus on these for customization:
- Homepage: Think of this as your store’s first impression. Use strong visuals, like hero sections, and highlight featured collections to grab attention.
- Product Pages: Make sure product pages are clear and functional. Include high-quality images, pricing, variant selectors, and a smooth add-to-cart option.
- Checkout Process: While Shopify Plus users can deeply customize the checkout, all stores can improve it with personalized thank-you pages, order status messages, and cart tweaks.
"Leverage Shopify's SEO tools and best practices during customization to enhance search rankings and visibility." [8]
Once these essential pages are ready, you can upload and publish your theme for customers to explore. This combination of custom Shopify website design and custom Shopify store development is what turns a base theme into a custom themes Shopify project.
sbb-itb-6dc743d
Uploading and Publishing Your Theme
After you've customized your Shopify theme, the next step is to make it live on your store. This involves two key actions: uploading the theme files and publishing the theme.
Uploading the Theme with Shopify CLI
Shopify CLI simplifies the process of uploading themes. To upload your theme, use the following command in your terminal:
shopify theme push --unpublished
The --unpublished flag ensures the new theme version is added to your theme library without affecting your live store. This lets you test changes in a safe environment before making them public.
Once you're satisfied with the uploaded theme and have tested it thoroughly, it's time to publish it so customers can see it.
Making the Theme Live
Follow these steps to publish your theme:
- Confirm your store connection and apply any final updates using
shopify theme info. - Run
shopify theme publishand choose the theme you want to make live.
Publishing makes your theme visible to customers and ready for action.
Before you hit publish, double-check these critical aspects:
- Ensure product pages, navigation menus, and checkout processes work seamlessly.
- Confirm the theme looks and functions well on mobile devices.
If you're using Shopify Plus, also verify that advanced features like multi-currency support and customized checkout options are working as intended.
"Regular testing and monitoring are crucial for maintaining optimal performance and SEO after publishing your custom theme." [10]
Testing and Improving the Theme
Once your custom Shopify theme is live, fine-tuning its performance and functionality becomes a top priority. These improvements not only enhance the shopping experience but also help boost your search engine rankings.
Performance and SEO Optimization
Concentrate on these areas to improve speed and visibility:
Image and Code Optimization
- Compress images with tools like TinyPNG to reduce file size without losing quality.
- Use lazy loading for images to speed up initial page loads.
- Minify CSS and JavaScript files with Gzip or Brotli compression.
- Remove unnecessary theme files and enable browser caching.
- Run Shopify's Theme Check to spot and resolve performance issues [2].
SEO Enhancements
- Use proper heading structure (H1-H6) to organize content.
- Add schema markup for products and collections.
- Fine-tune meta descriptions and title tags.
- Create clean, keyword-rich URLs.
- Write product descriptions using semantic HTML.
- Add alt text to all images for better accessibility and SEO.
Testing on Different Devices and Browsers
To ensure your store works seamlessly for all users, test its compatibility across devices and browsers:
Key Testing Steps
- Confirm the responsive design works across all screen sizes.
- Test functionality on major browsers like Chrome, Firefox, and Safari.
- Check usability on mobile devices.
- Validate core features, including:
- Navigation and checkout process
- Form submissions
- Payment gateway operations
- Image alignment and display
- Mobile-specific elements
Performance Monitoring
"Use tools like Google PageSpeed Insights to monitor performance metrics and identify areas for improvement as your store scales." [3]
Conclusion
Key Steps Recap
Creating a custom Shopify theme requires careful planning and attention to detail. The process includes setting up your development environment, working with Liquid for customizations, testing for performance and compatibility, and finally deploying your theme. By following these steps, you can build a store that not only runs smoothly but also provides a user experience tailored to your brand's goals. This is the core of how to make a Shopify theme and how to make Shopify themes that perform well. Once your theme is live, the focus shifts to improving your skills and maintaining the theme for long-term use.
Useful Resources and Next Steps
Official Learning Tools
- Shopify Partner Academy: Dive into advanced theme development techniques to boost your expertise.
- Shopify GitHub Repository: Find official theme examples and documentation to guide your projects.
- Shopify Developer Documentation: Explore detailed guides on technical specs and API integrations.
If you want to go deeper, a dedicated Shopify theme development course or Shopify theme course can help you grow from a casual builder into a confident Shopify theme developer, and following a step-by-step Shopify theme development tutorial is a great way to practice and create a Shopify theme of your own.
"Use tools like Google PageSpeed Insights to monitor performance metrics and identify areas for improvement as your store scales." [3]
For maintaining your theme over time, keep these priorities in mind:
1. Version Control
Use Git for version control to track changes and maintain a clean, organized codebase.
2. Performance Reviews
Run regular performance checks to ensure your store remains fast and reliable as it grows.
3. Developer Community
Engage with the Shopify developer community through forums and events to stay updated on the latest practices and tools in theme development. Whether your goal is a Shopify developer theme for clients or your own Shopify development theme, ongoing custom development Shopify work keeps your Shopify themes development skills sharp.
